
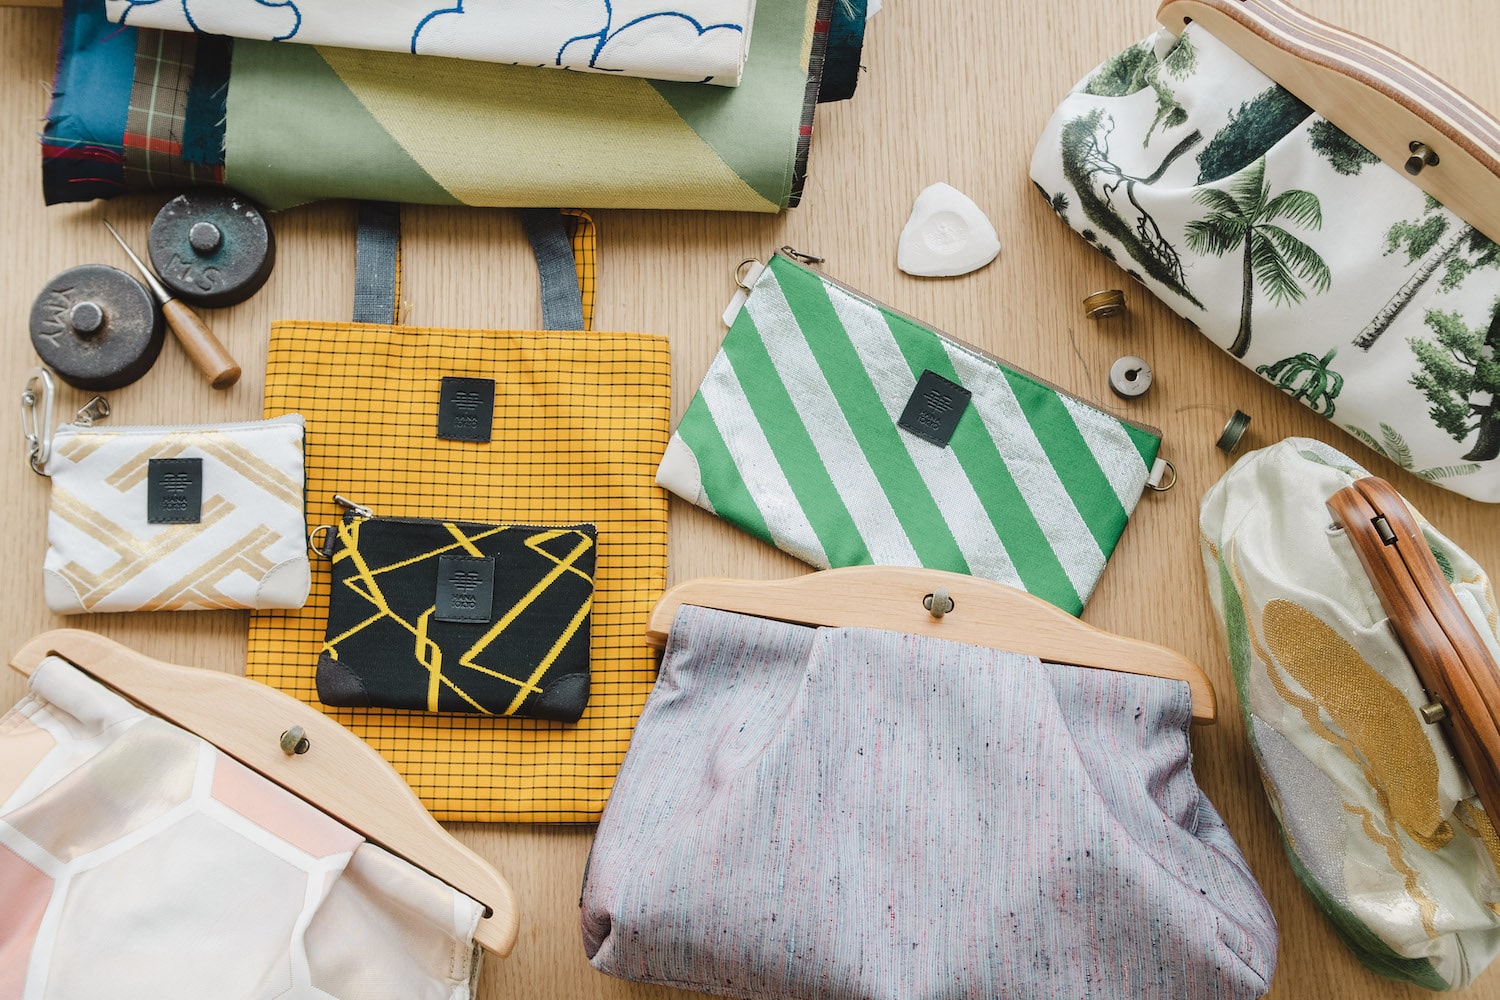

アップサイクルができるまで
[HANA TOKYO]'s upcycled products take about 3 months to transform from kimono to finished product. We will introduce the many processes involved in turning a product into a high-quality product.
1.Kimono purchasing, disassembly, and inspection
2. Design matching
3.Sewing
4.Finishing and inspection
5. Photography and delivery to the customer
1.Kimono purchase, dismantling and maintenance
The first mission is to find materials that will excite everyone.
We procure kimonos and obi from reliable wholesalers.
Among the kimonos that are on the verge of being discarded, there are new ones with the sewing threads still attached, and there are also obi such as ○○ woven belts with stickers still attached.
This is wonderful! If the dirt is noticeable, remove it at this point. I look at the colors and patterns and let my imagination run wild as I concentrate on my selection.
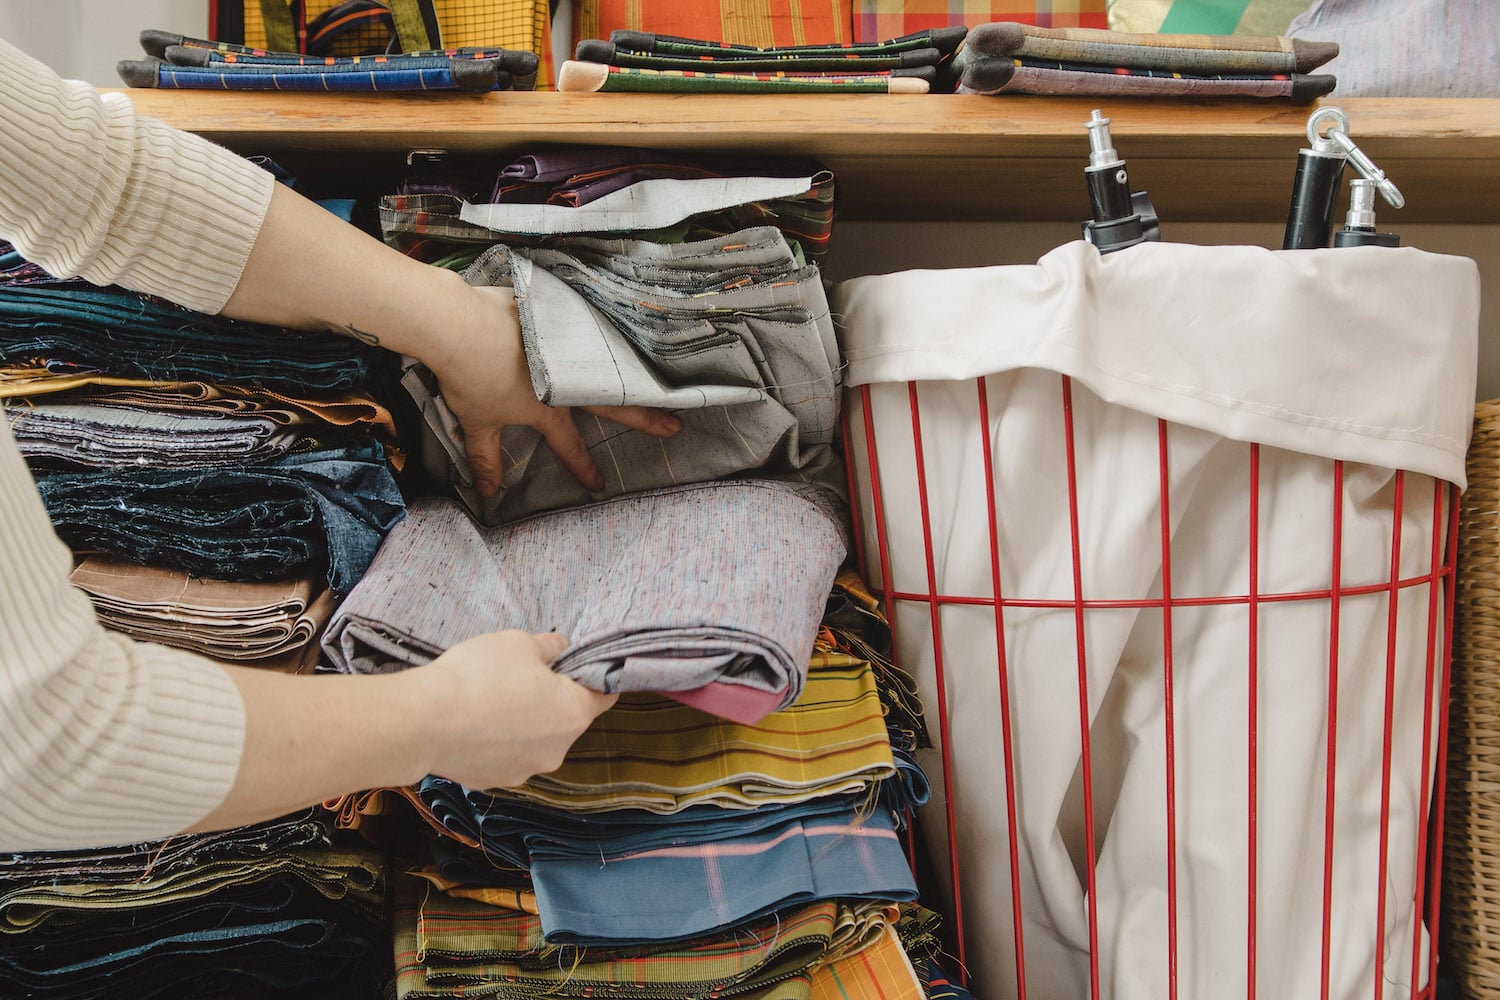
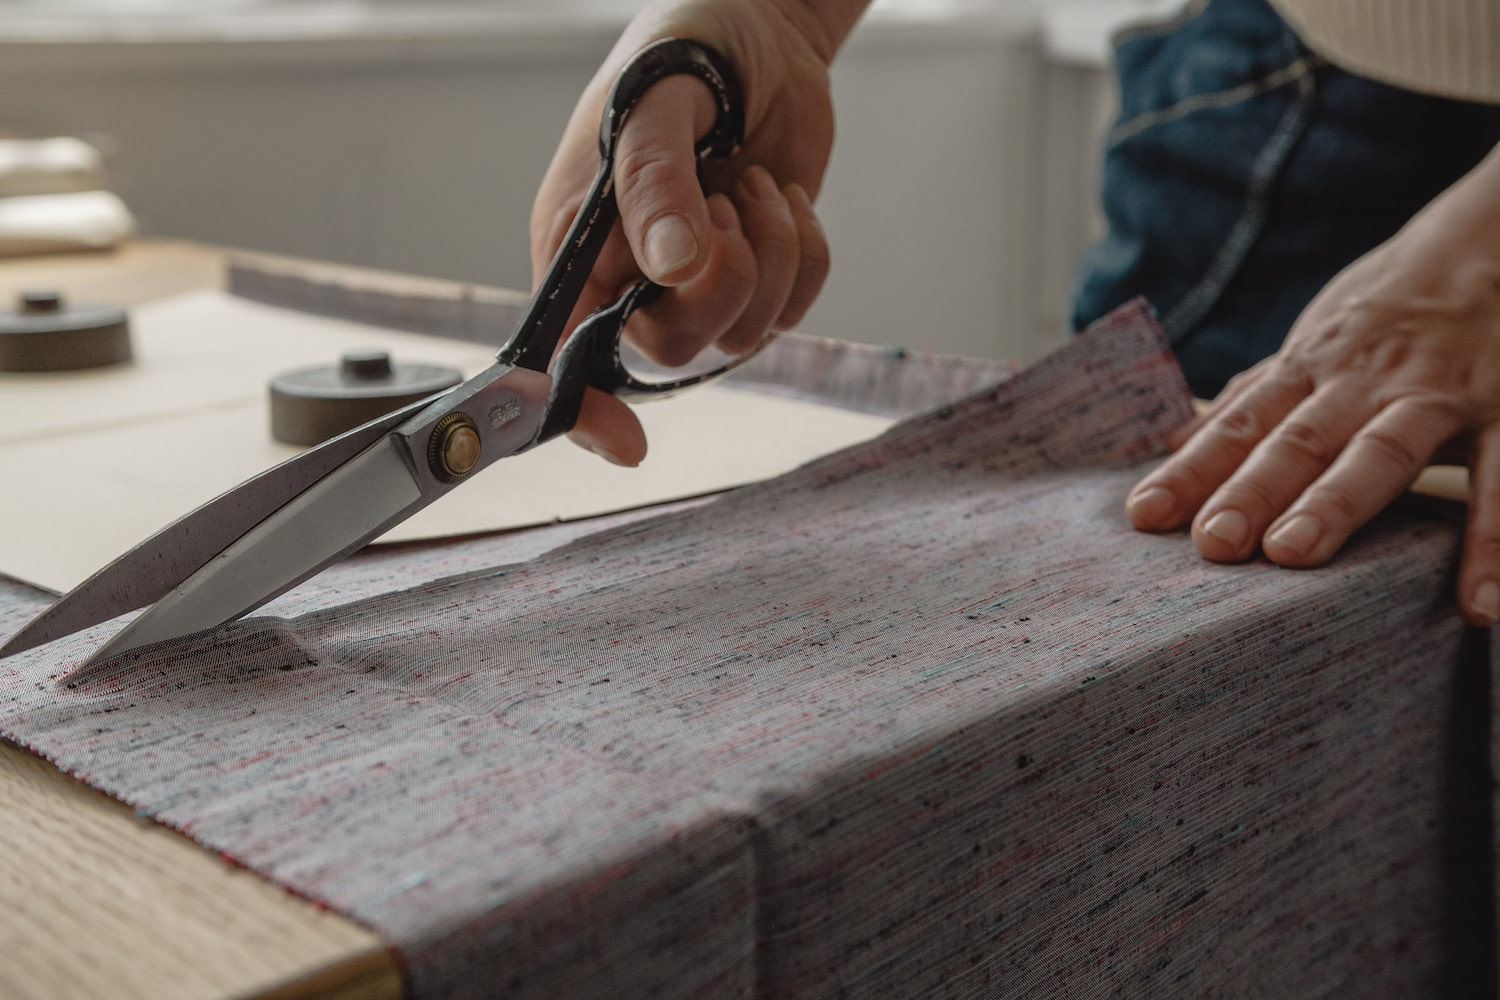
Once the kimono arrives at the atelier, it is dismantled to return to its cloth state. In order to make use of every inch, we carefully unravel each piece one by one, using thread trimming shears and perforators, rather than cutting them sharply with scissors. Don't throw away the remaining silk lining and use it as a shopper (bag for delivering products). After sorting into white and colored items, they are sent to the warehouse.
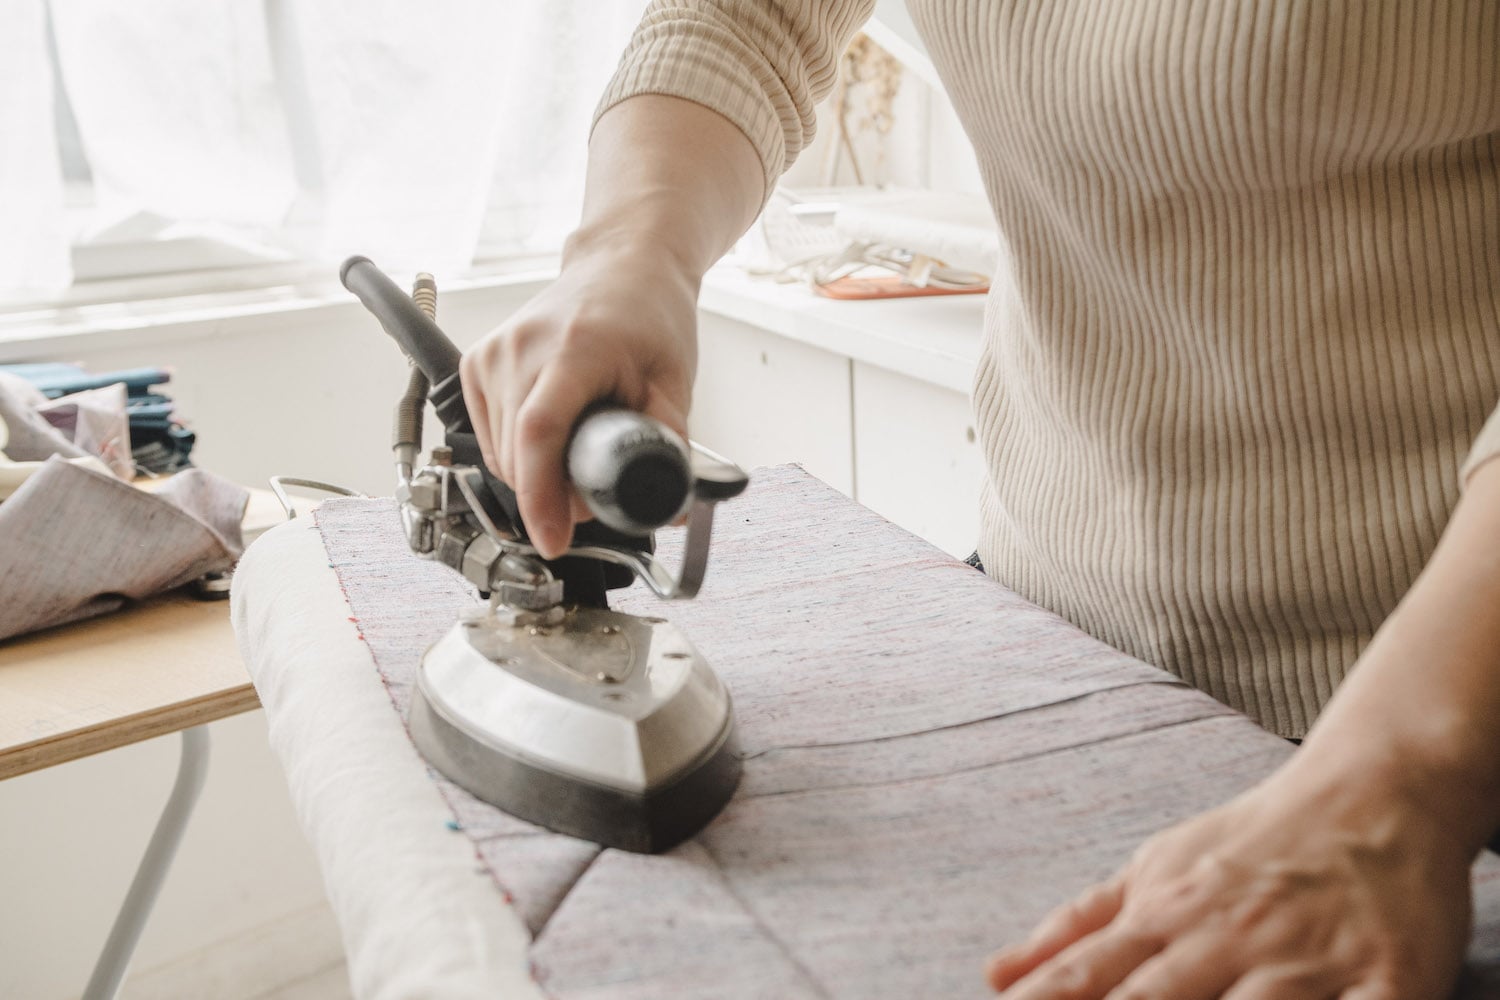
While removing the remaining threads from the unraveled kimono, check and mark where there are dirt or stains. Then iron it to smooth out the creases.
We procure kimonos and obi from reliable wholesalers.
Among the kimonos that are on the verge of being discarded, there are new ones with the sewing threads still attached, and there are also obi such as ○○ woven belts with stickers still attached.
This is wonderful! If the dirt is noticeable, remove it at this point. I look at the colors and patterns and let my imagination run wild as I concentrate on my selection.
Once the kimono arrives at the atelier, it is dismantled to return to its cloth state. In order to make use of every inch, we carefully unravel each piece one by one, using thread trimming shears and perforators, rather than cutting them sharply with scissors. Don't throw away the remaining silk lining and use it as a shopper (bag for delivering products). After sorting into white and colored items, they are sent to the warehouse.
While removing the remaining threads from the unraveled kimono, check and mark where there are dirt or stains. Then iron it to smooth out the creases.
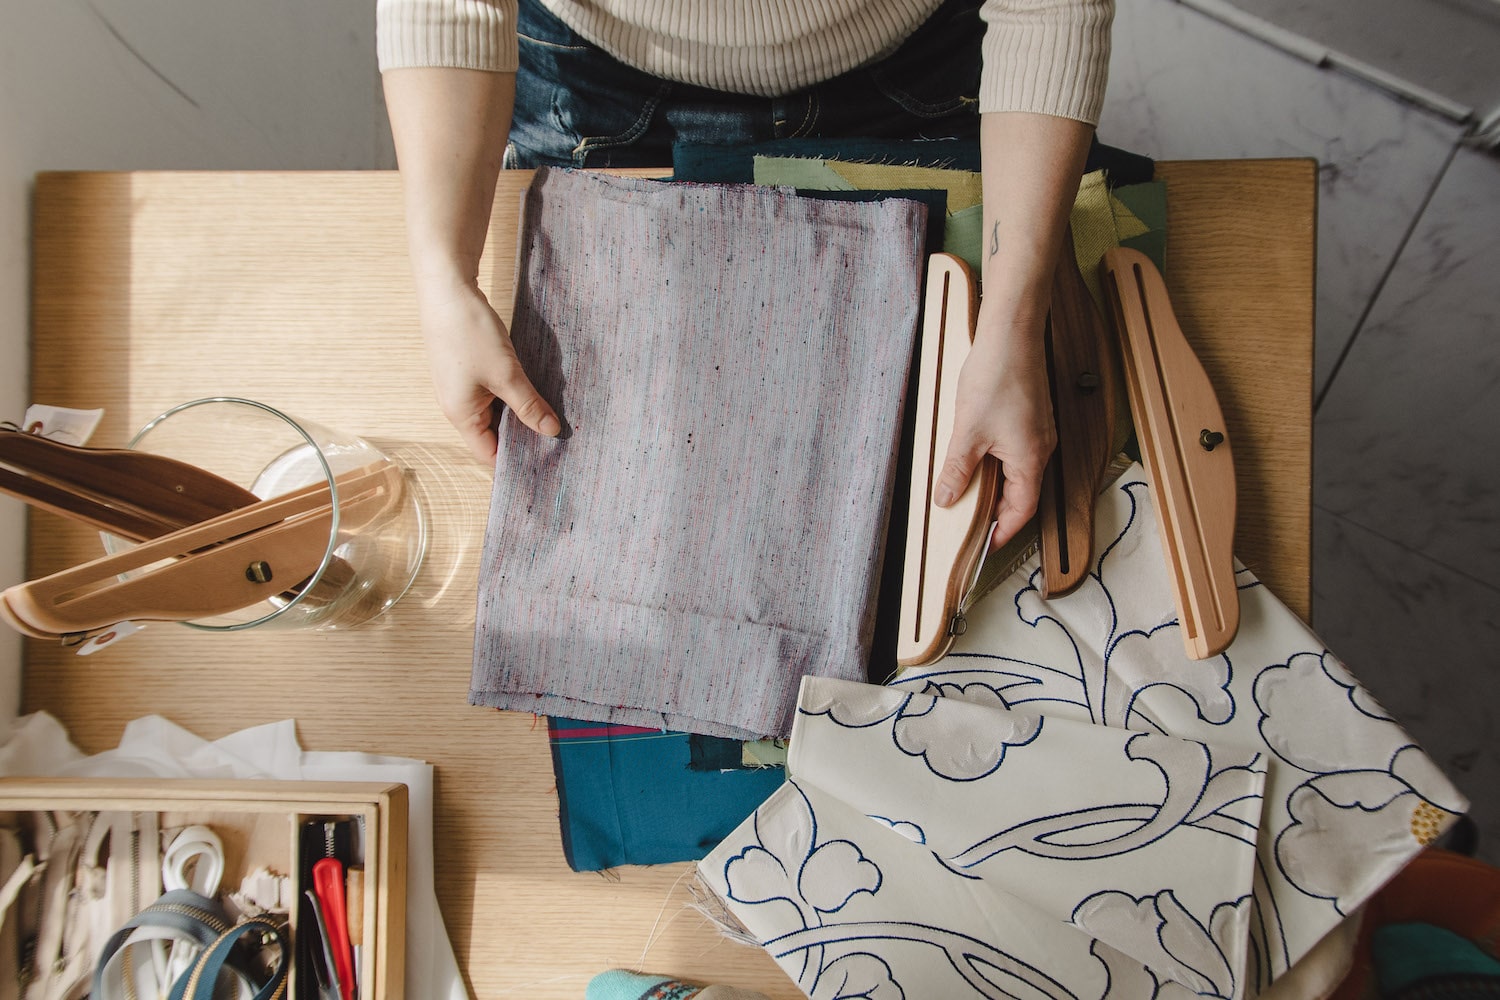
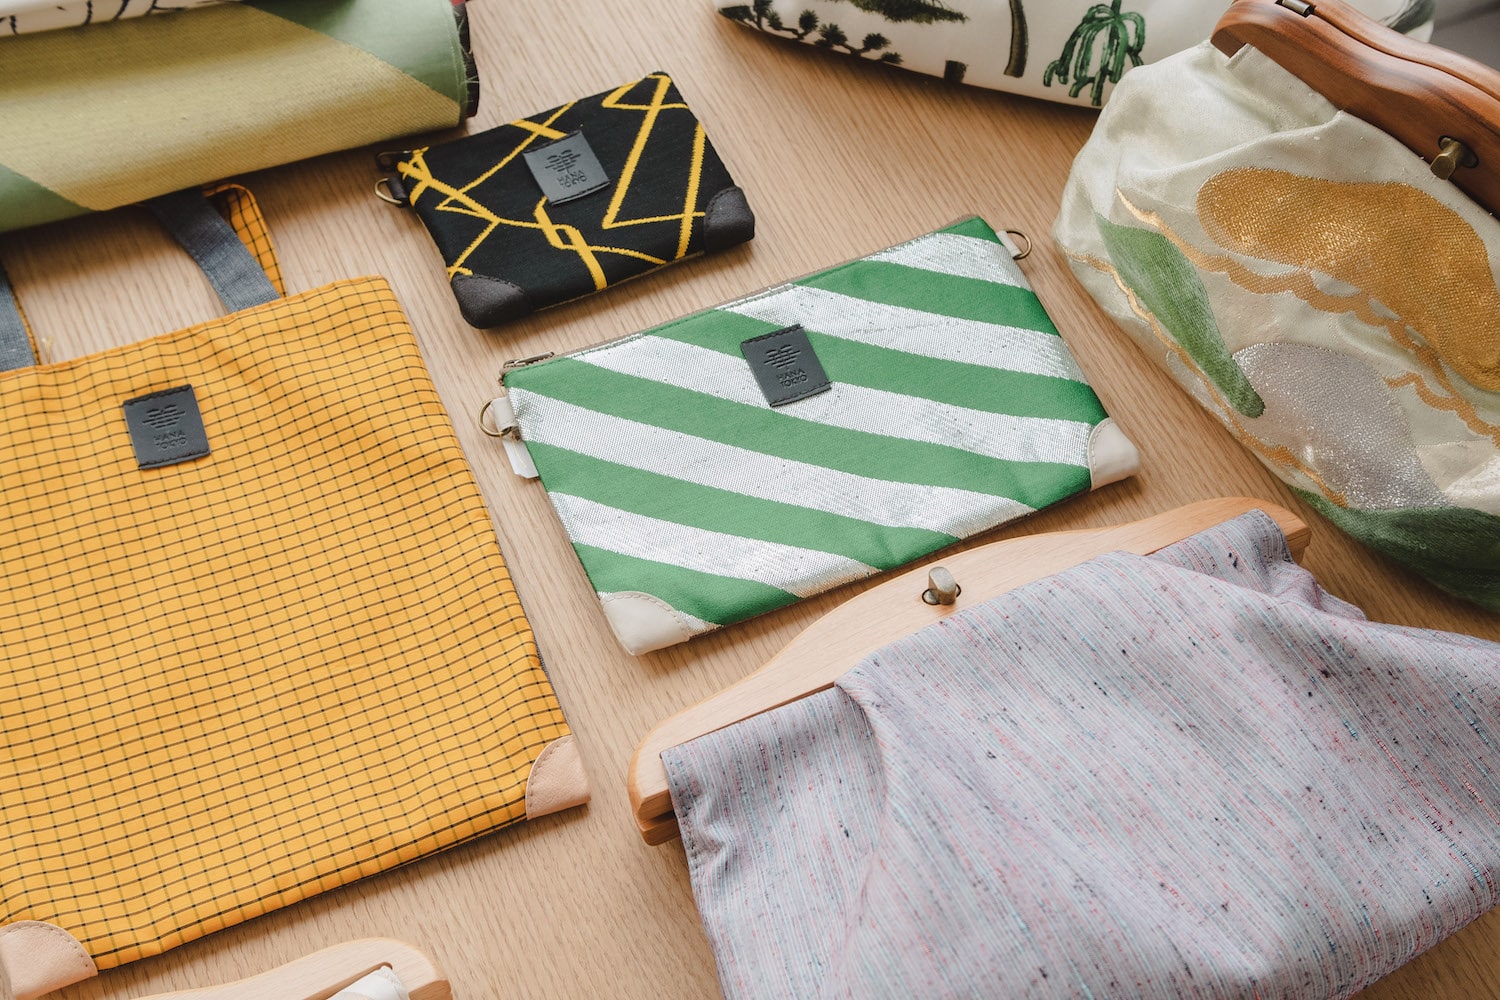
2. Design matching
While visualizing the product, we consider combinations that bring out the beauty of the materials to the fullest.
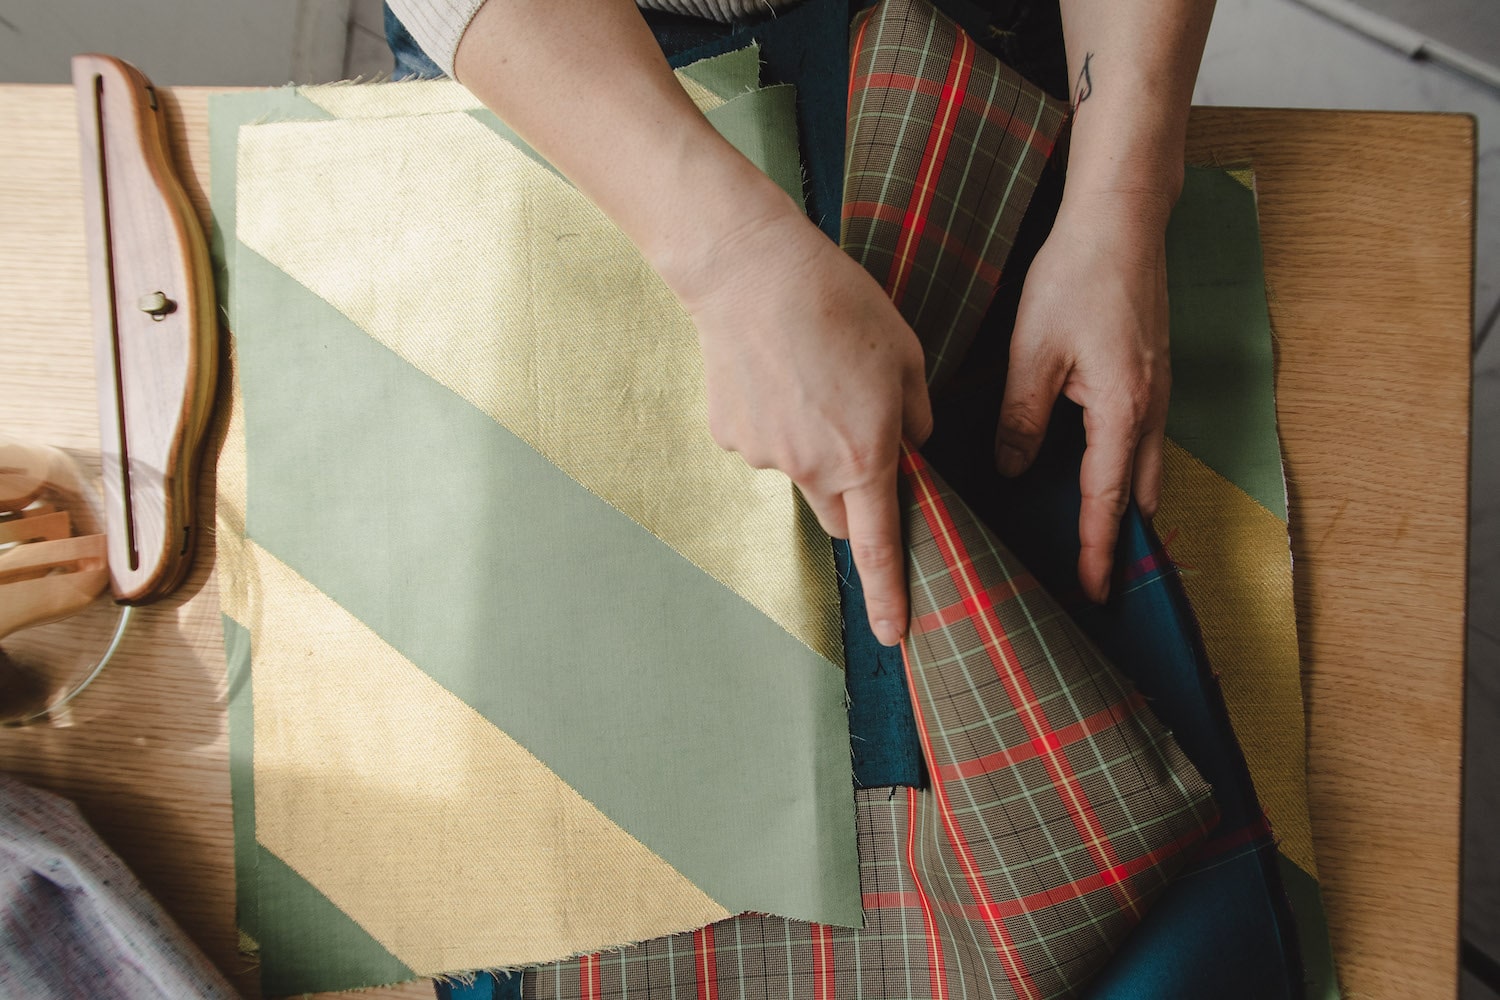
I decide which kimono and obi to pair with it by trying out the image in my head over and over again. Some combinations are easy to decide on, while others are difficult to decide on. In that case, put it on hold for now. Let your head cool down and decide on the combination at a later date.
I decide which kimono and obi to pair with it by trying out the image in my head over and over again. Some combinations are easy to decide on, while others are difficult to decide on. In that case, put it on hold for now. Let your head cool down and decide on the combination at a later date.
3. Ironing and sewing
After preparing the materials, the work is divided into those that will be sent to craftsmen and those that will be sewn in the atelier.
Cut into larger pieces while calculating the shrinkage rate during press work.
Several types of interlining materials with different hardness and thickness are roughly cut to suit each item.

Depending on the thickness of the material, we use a press to apply the interlining while adjusting the combination of several types of interlining.

After pasting the core, I finally made the final cut. It's a very nerve-wracking process, as you look at the pattern, match the patterns, and check the pattern over and over again as you cut. The inner fabric is also cut by item.
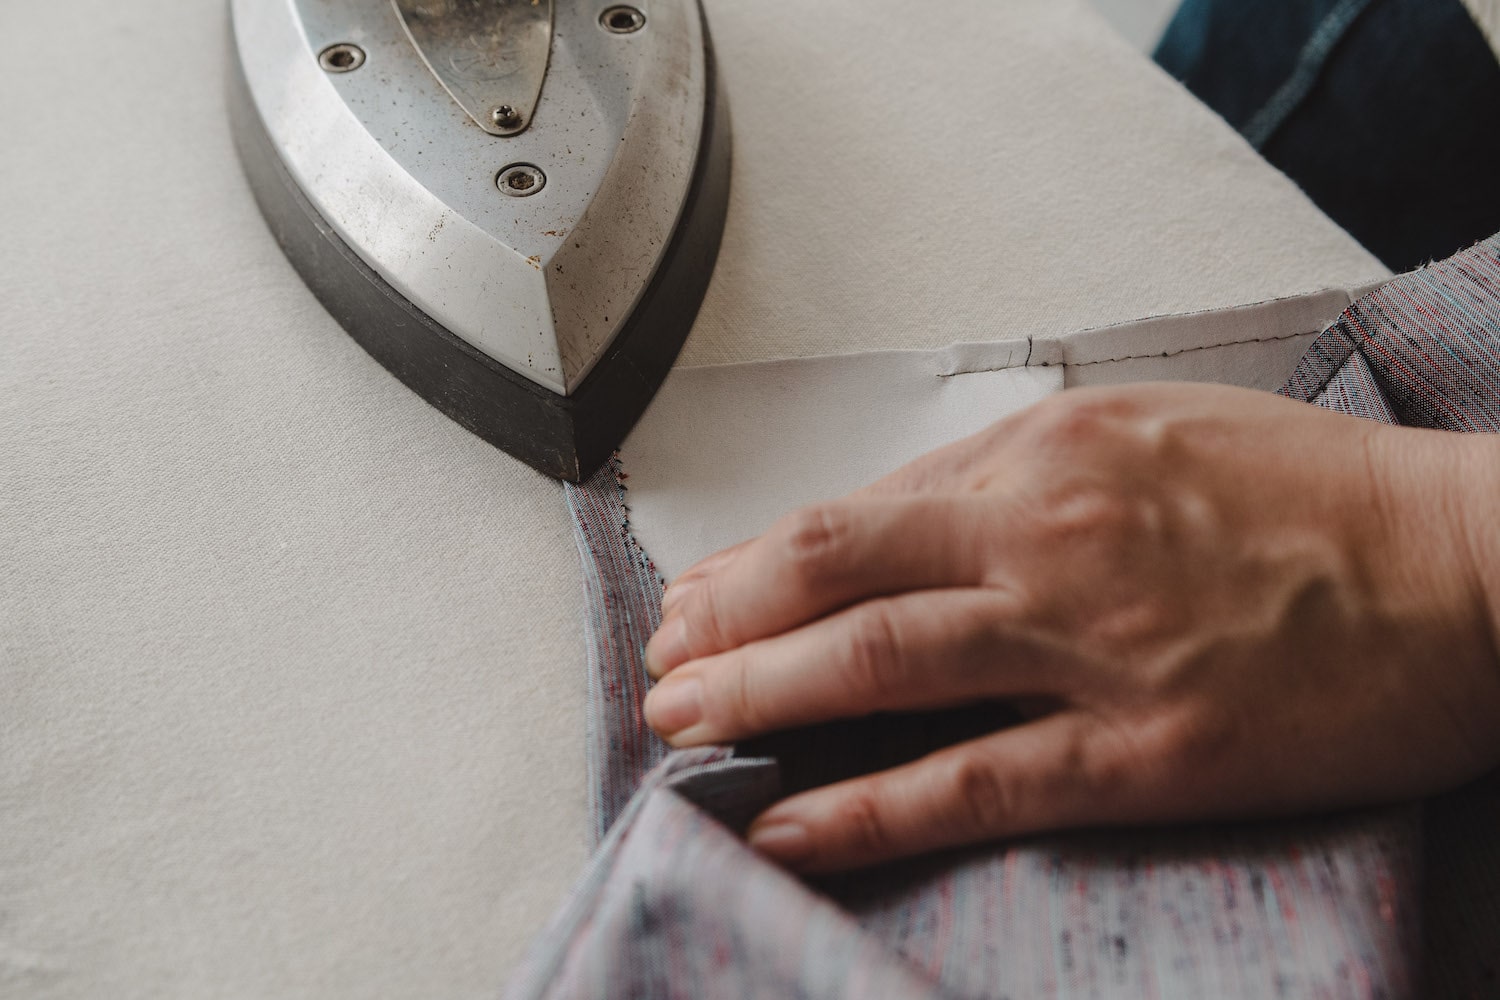
Use an iron to create creases around the opening of the bag, the handle, and the edges of the clutch bag.
Again, check for stains and dirt and smooth out wrinkles in areas of concern.
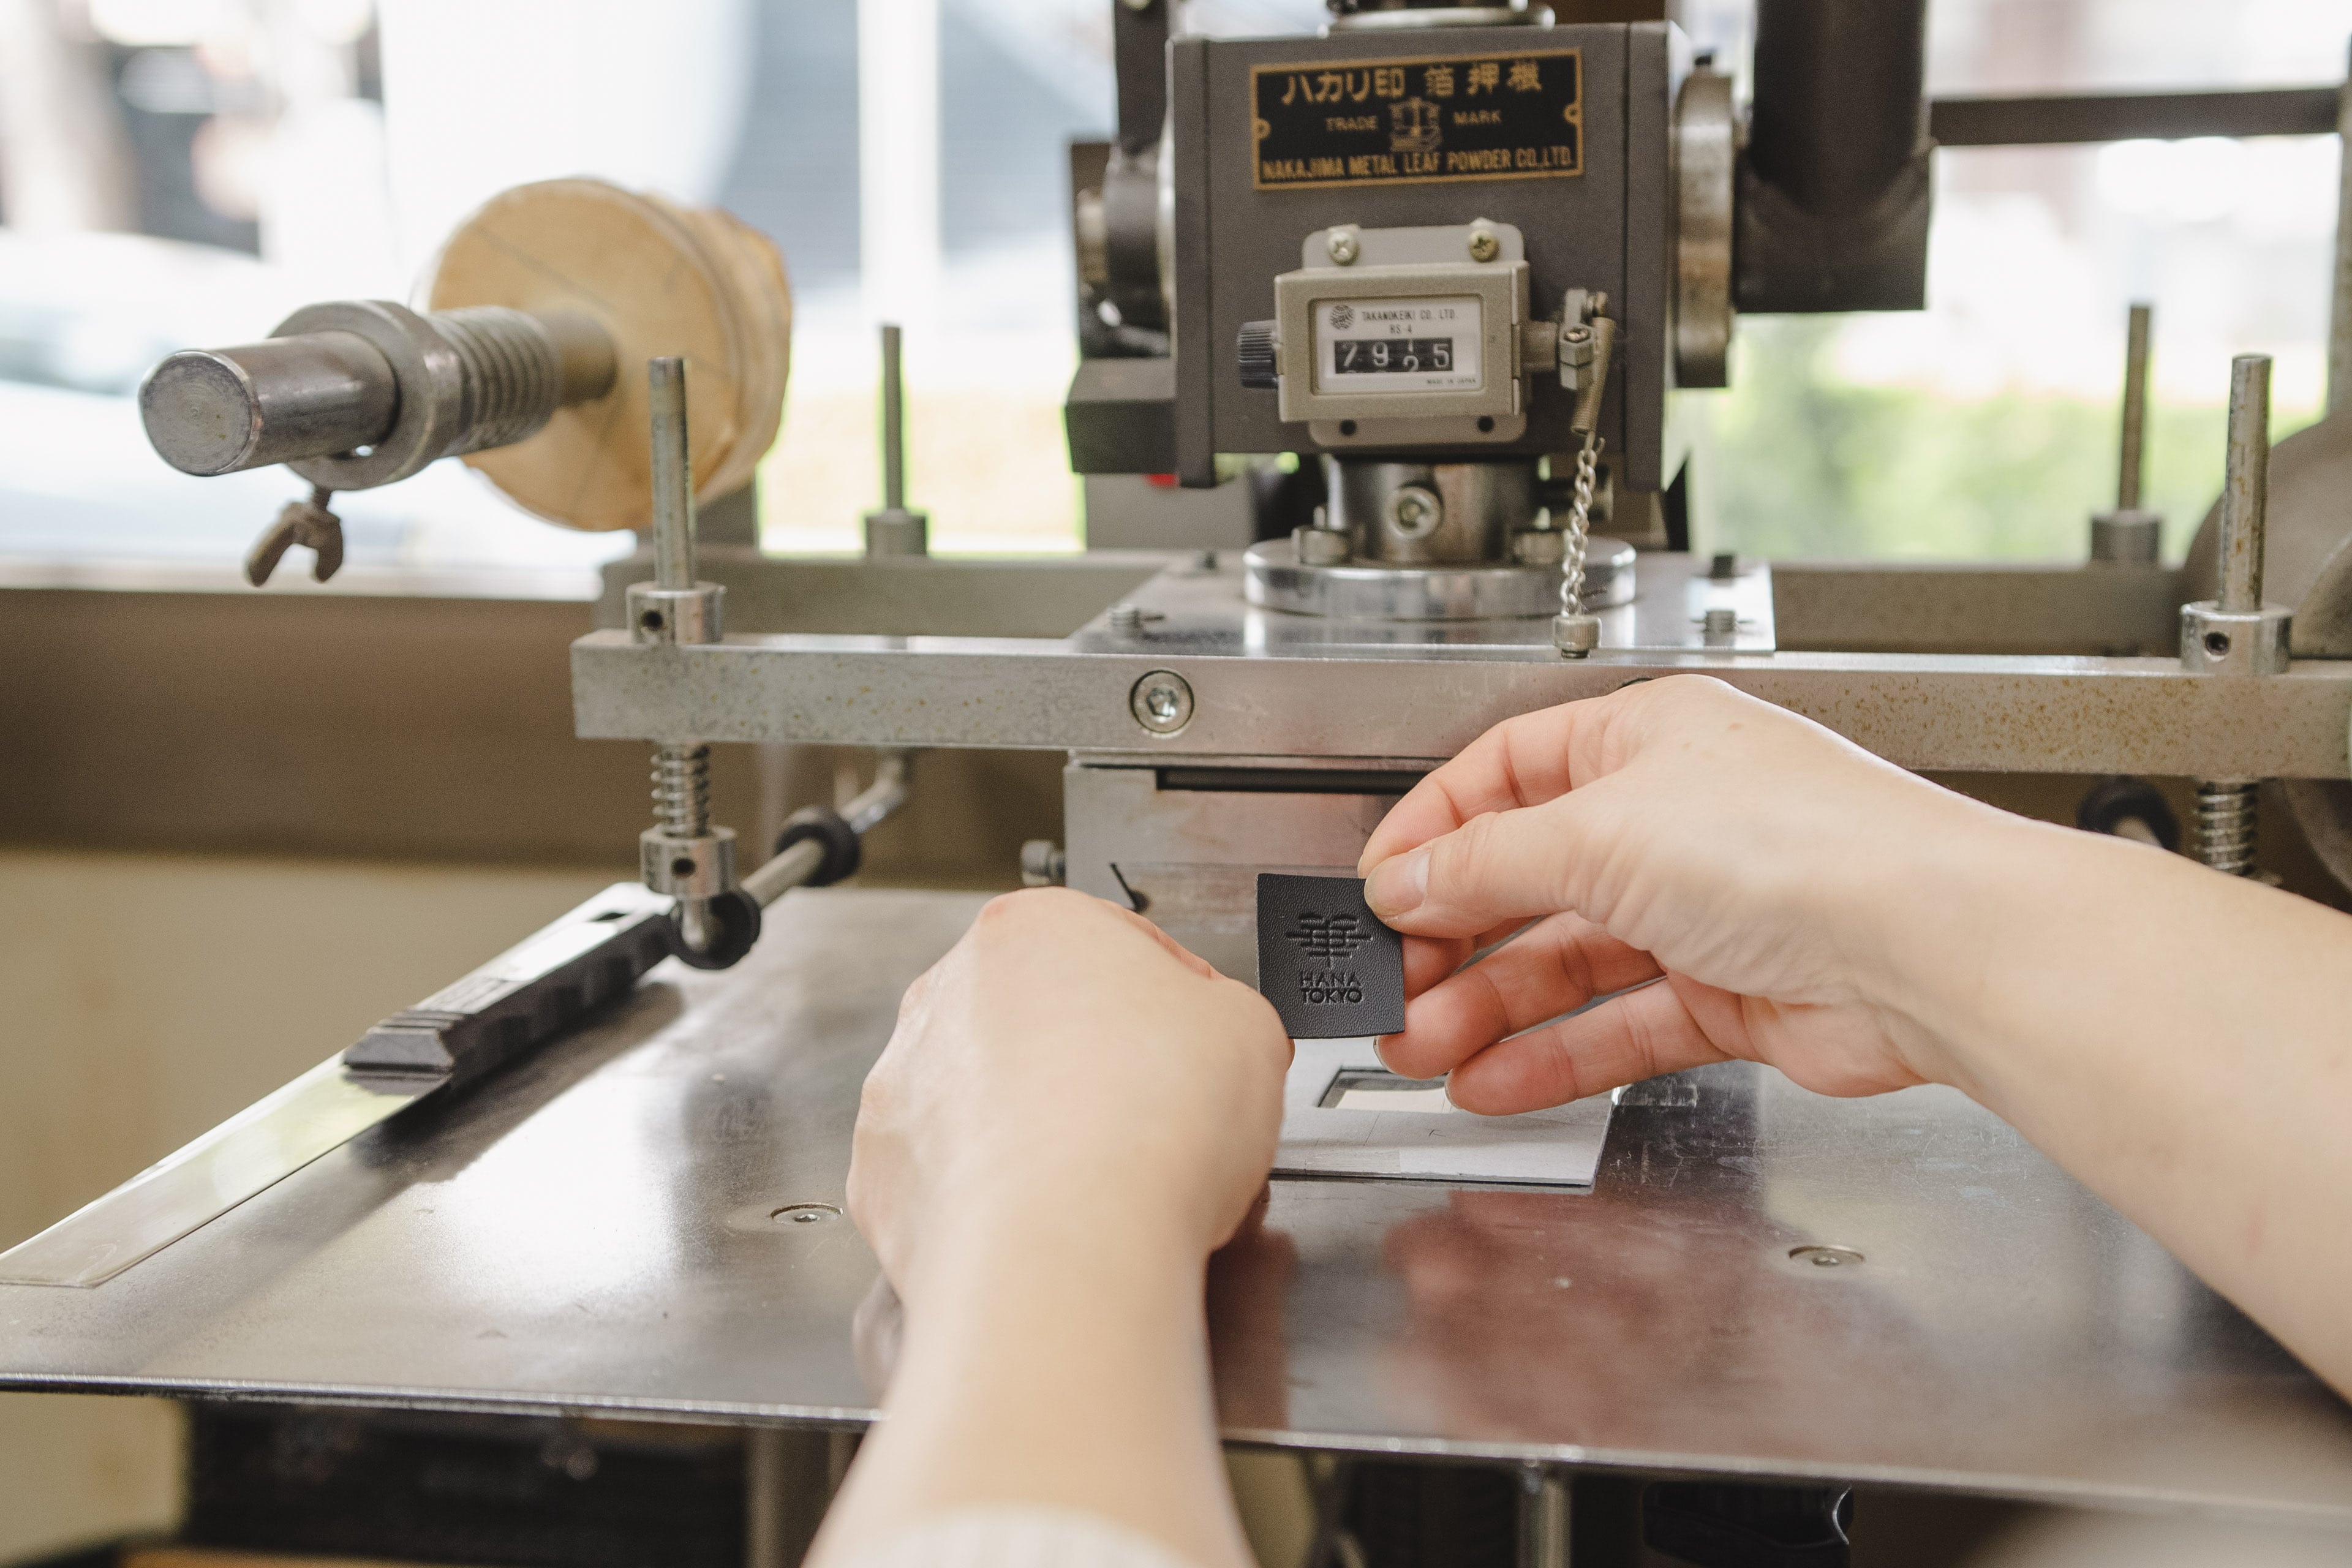
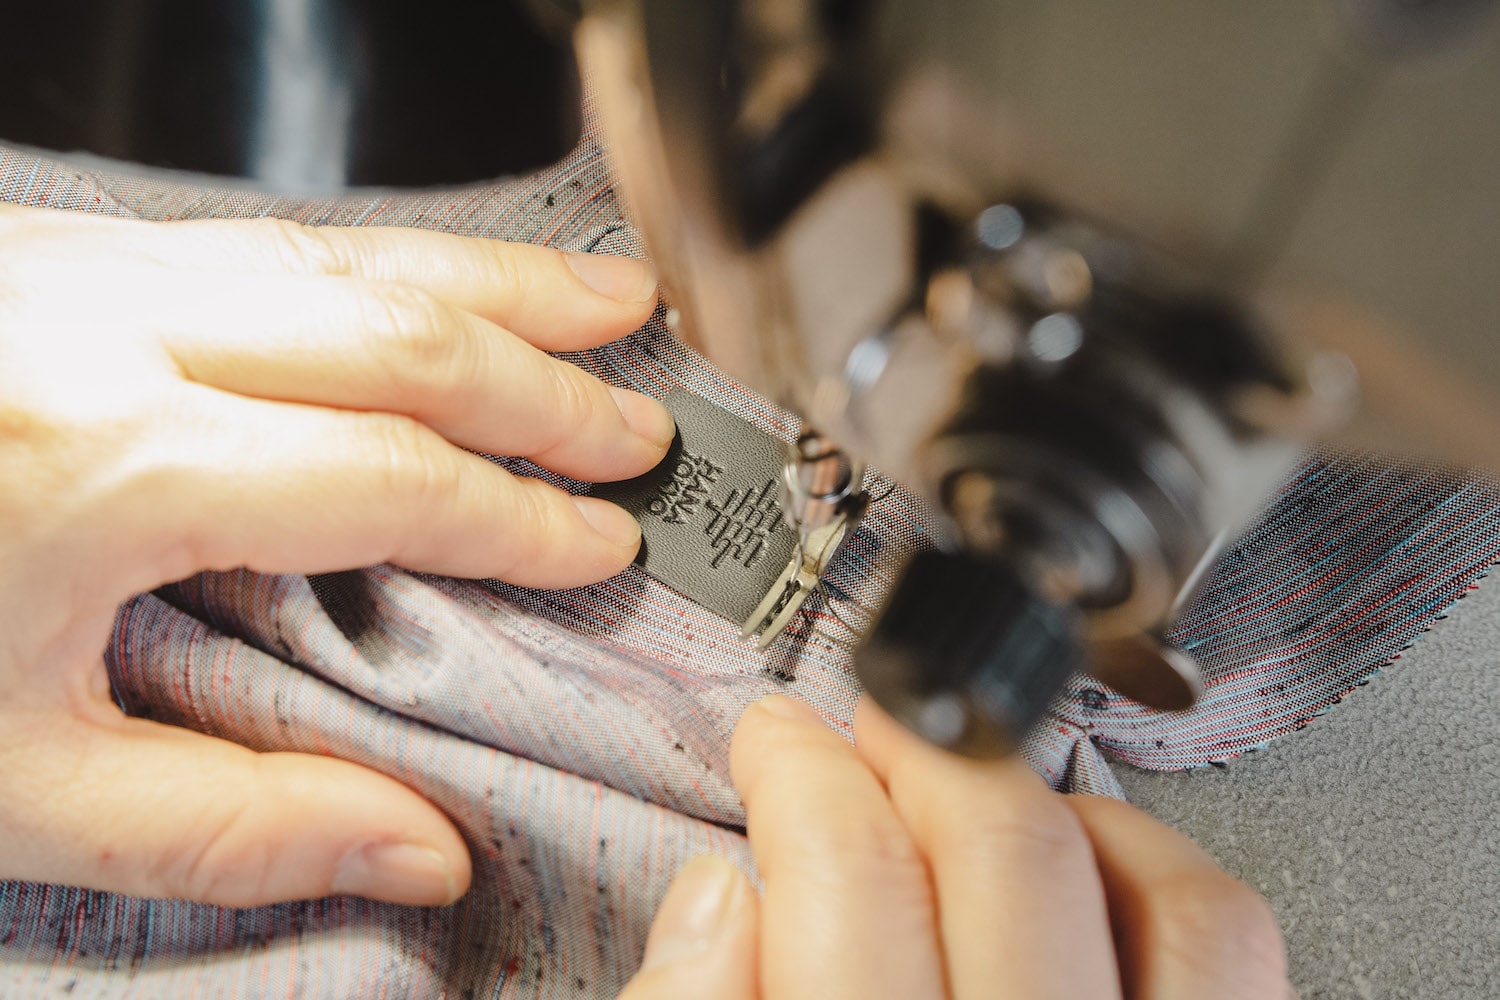
From a sustainable perspective, the brand tag uses "artificial leather" instead of genuine leather. We borrowed a cutting machine from the leather workshop on the first floor of the atelier and began cutting out shapes. After that, the brand logo is embossed (embossed) using a foil stamping machine, and the [HANA TOKYO] brand tag is completed.
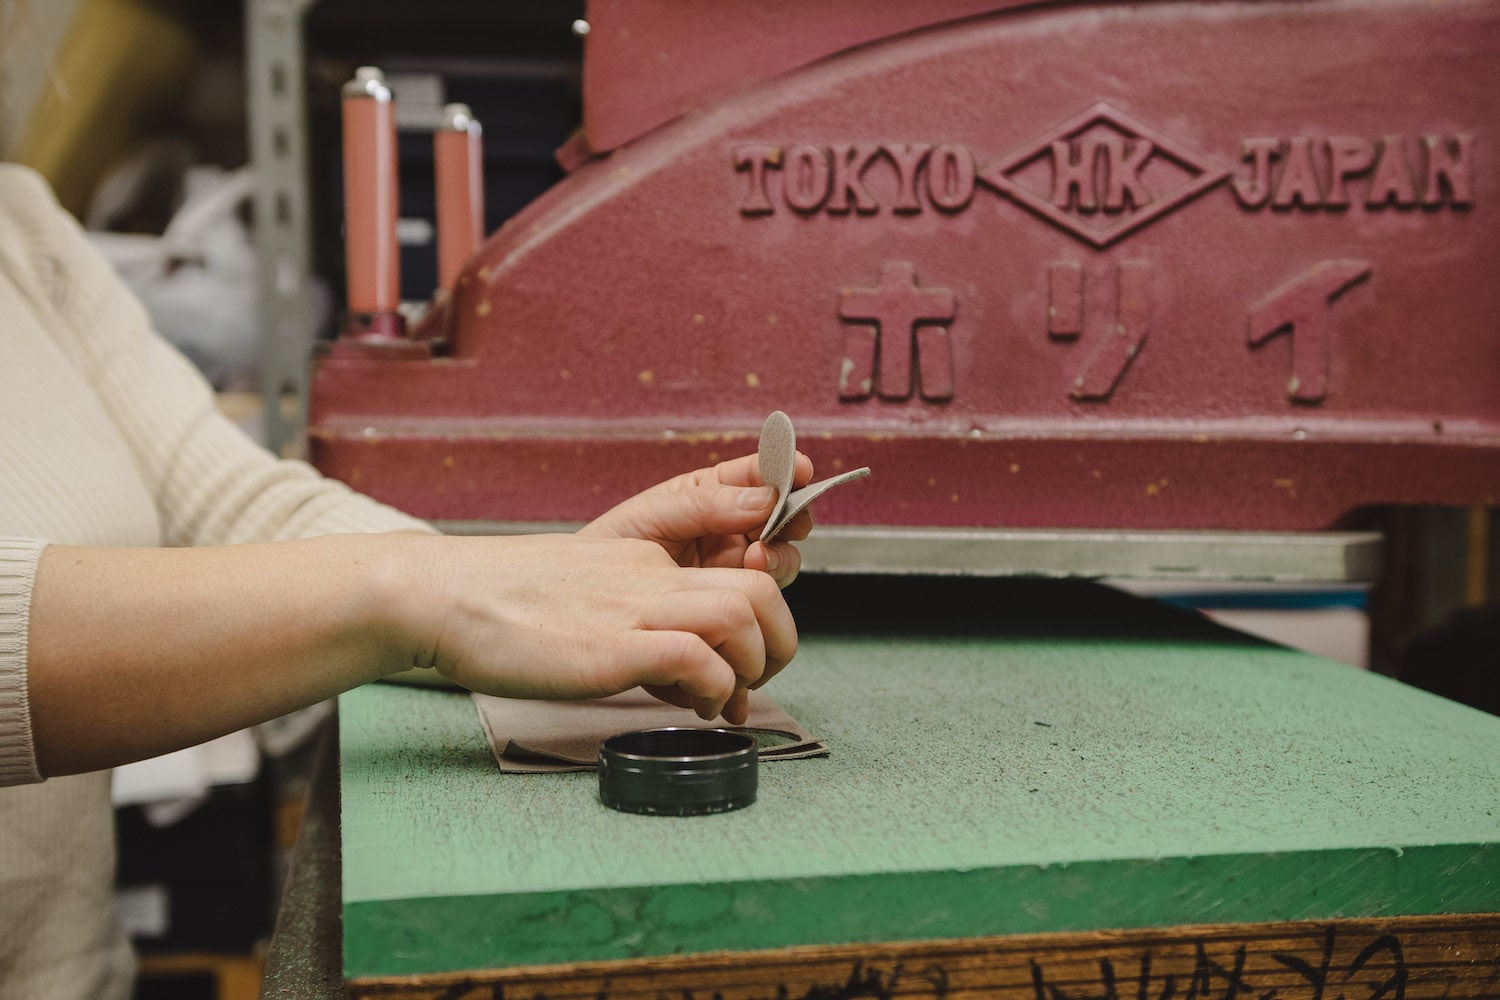
A round piece of artificial leather is sewn on to prevent the edges of the bag from chafing. The size is changed according to the product.
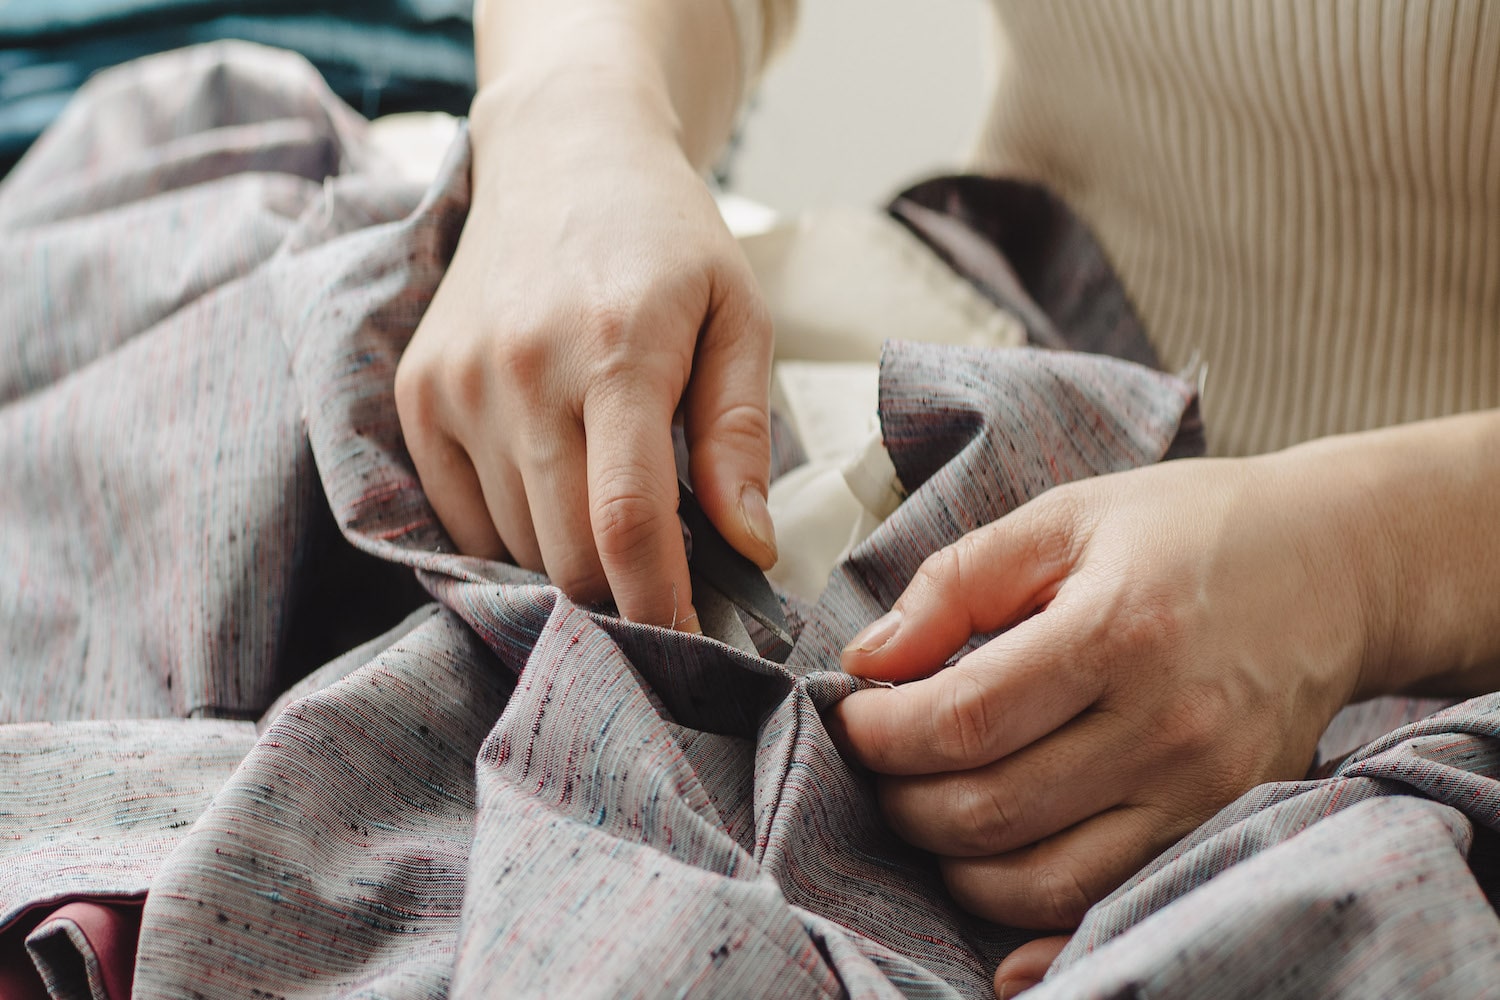
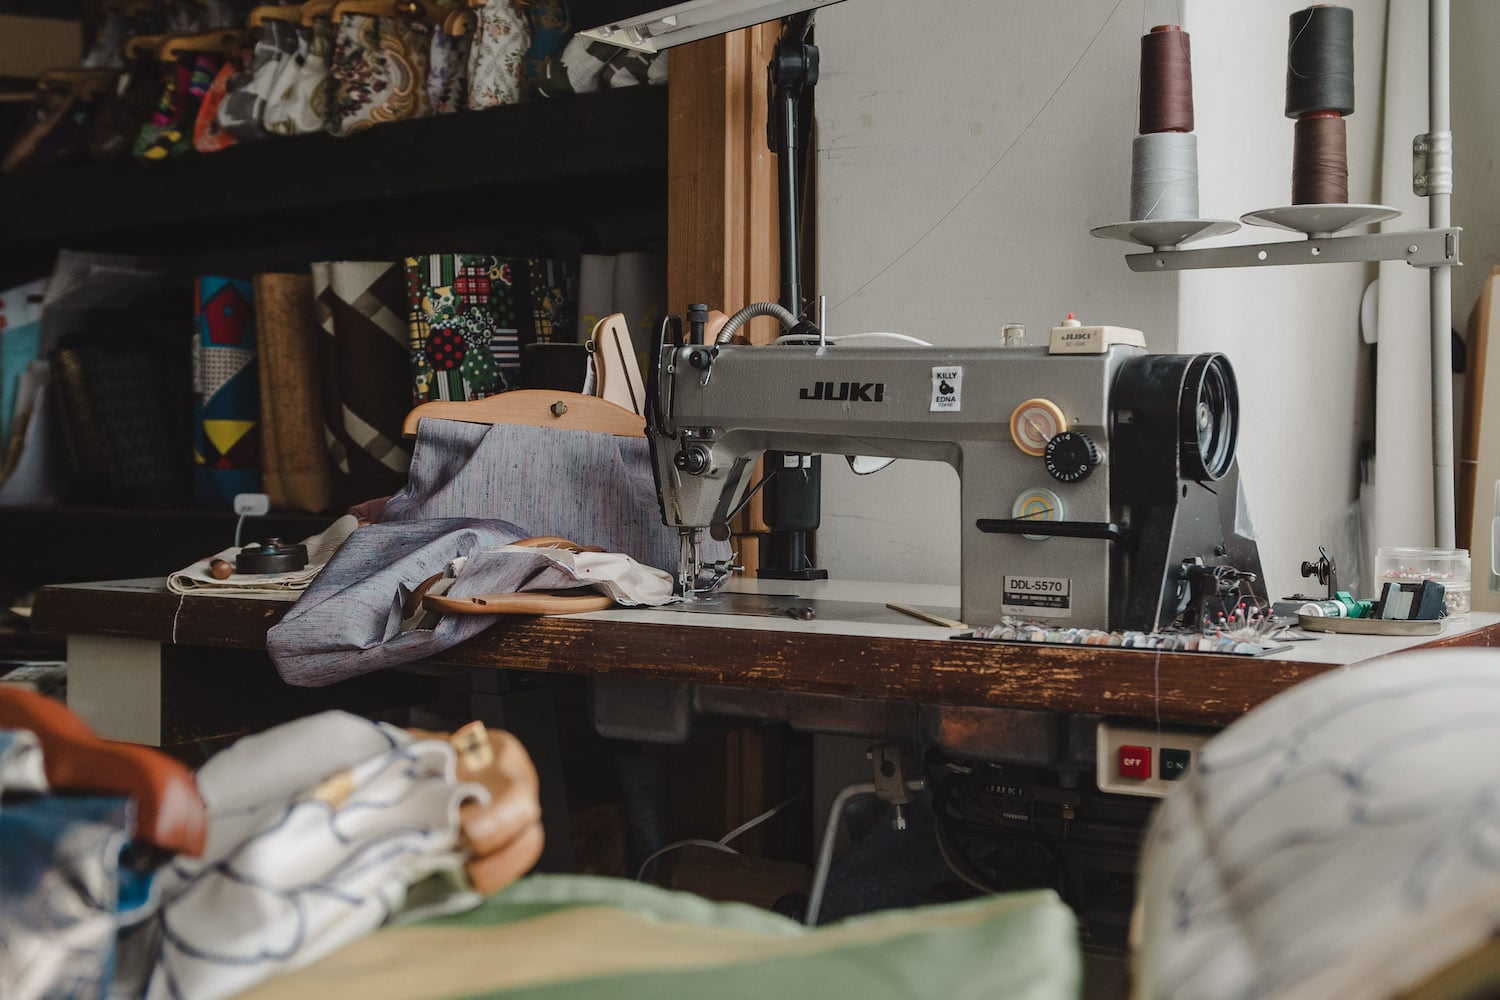
Now it's time to start sewing.
Depending on the item, the items are divided into those that are sent to craftsmen and those that are produced in the atelier, where they are sewn using industrial sewing machines.
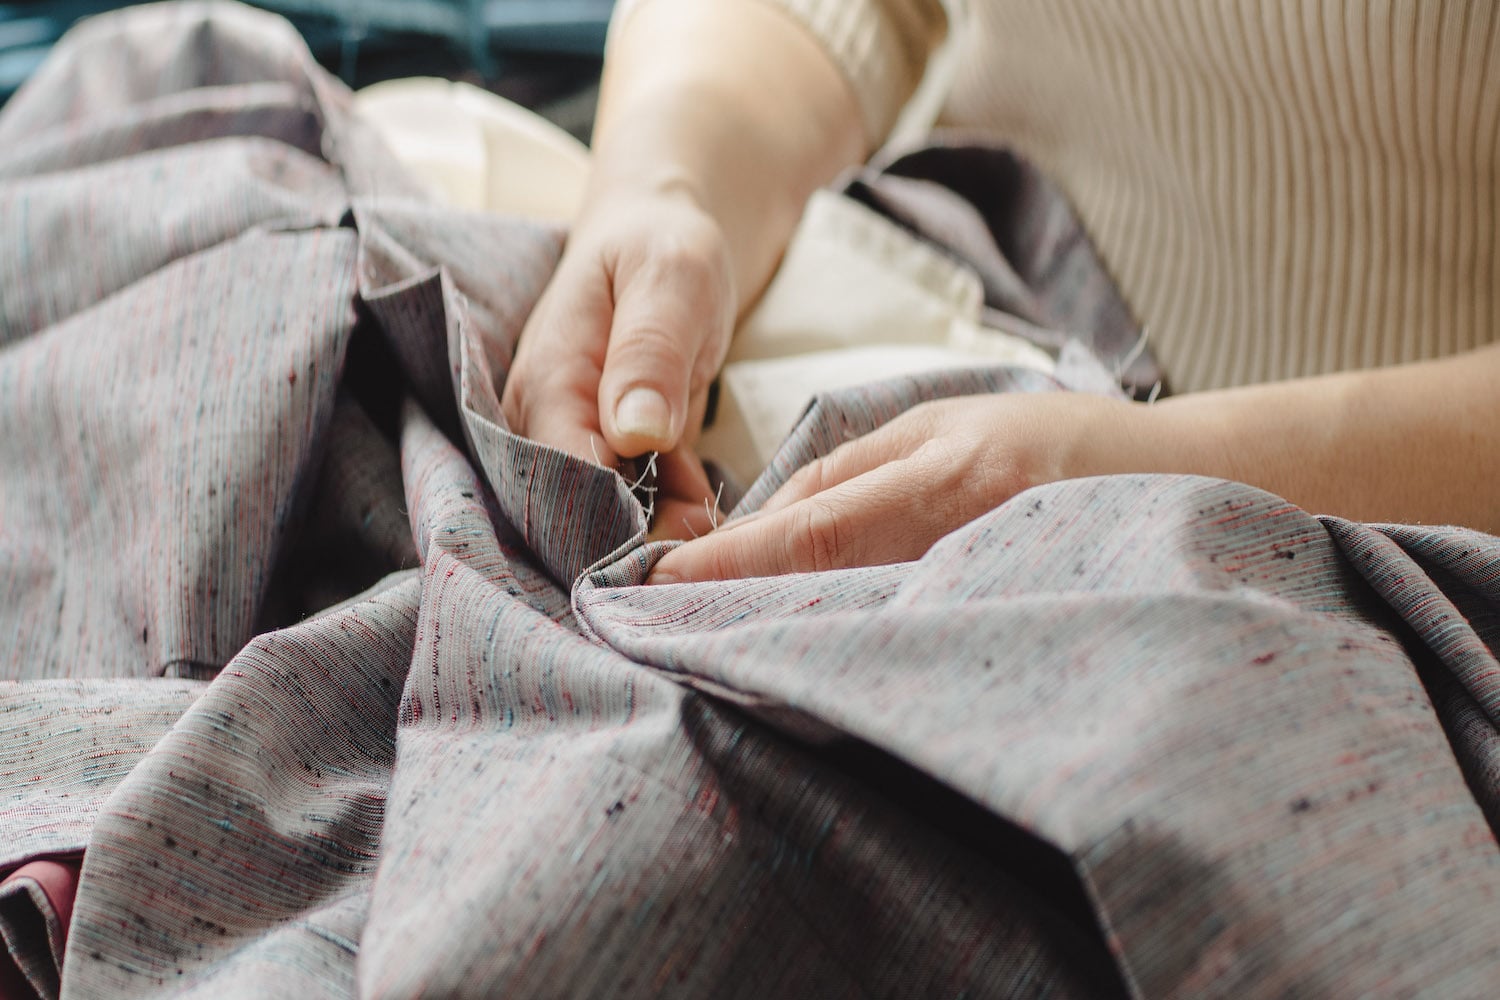
Proceed with the work while using different types of thread and needle depending on the area to be sewn.
Since it is a thick material, it takes a lot of force on your hands and requires many years of experience in sewing fine details.
Cut into larger pieces while calculating the shrinkage rate during press work.
Several types of interlining materials with different hardness and thickness are roughly cut to suit each item.
Depending on the thickness of the material, we use a press to apply the interlining while adjusting the combination of several types of interlining.
After pasting the core, I finally made the final cut. It's a very nerve-wracking process, as you look at the pattern, match the patterns, and check the pattern over and over again as you cut. The inner fabric is also cut by item.
Use an iron to create creases around the opening of the bag, the handle, and the edges of the clutch bag.
Again, check for stains and dirt and smooth out wrinkles in areas of concern.
From a sustainable perspective, the brand tag uses "artificial leather" instead of genuine leather. We borrowed a cutting machine from the leather workshop on the first floor of the atelier and began cutting out shapes. After that, the brand logo is embossed (embossed) using a foil stamping machine, and the [HANA TOKYO] brand tag is completed.
A round piece of artificial leather is sewn on to prevent the edges of the bag from chafing. The size is changed according to the product.
Now it's time to start sewing.
Depending on the item, the items are divided into those that are sent to craftsmen and those that are produced in the atelier, where they are sewn using industrial sewing machines.
Proceed with the work while using different types of thread and needle depending on the area to be sewn.
Since it is a thick material, it takes a lot of force on your hands and requires many years of experience in sewing fine details.
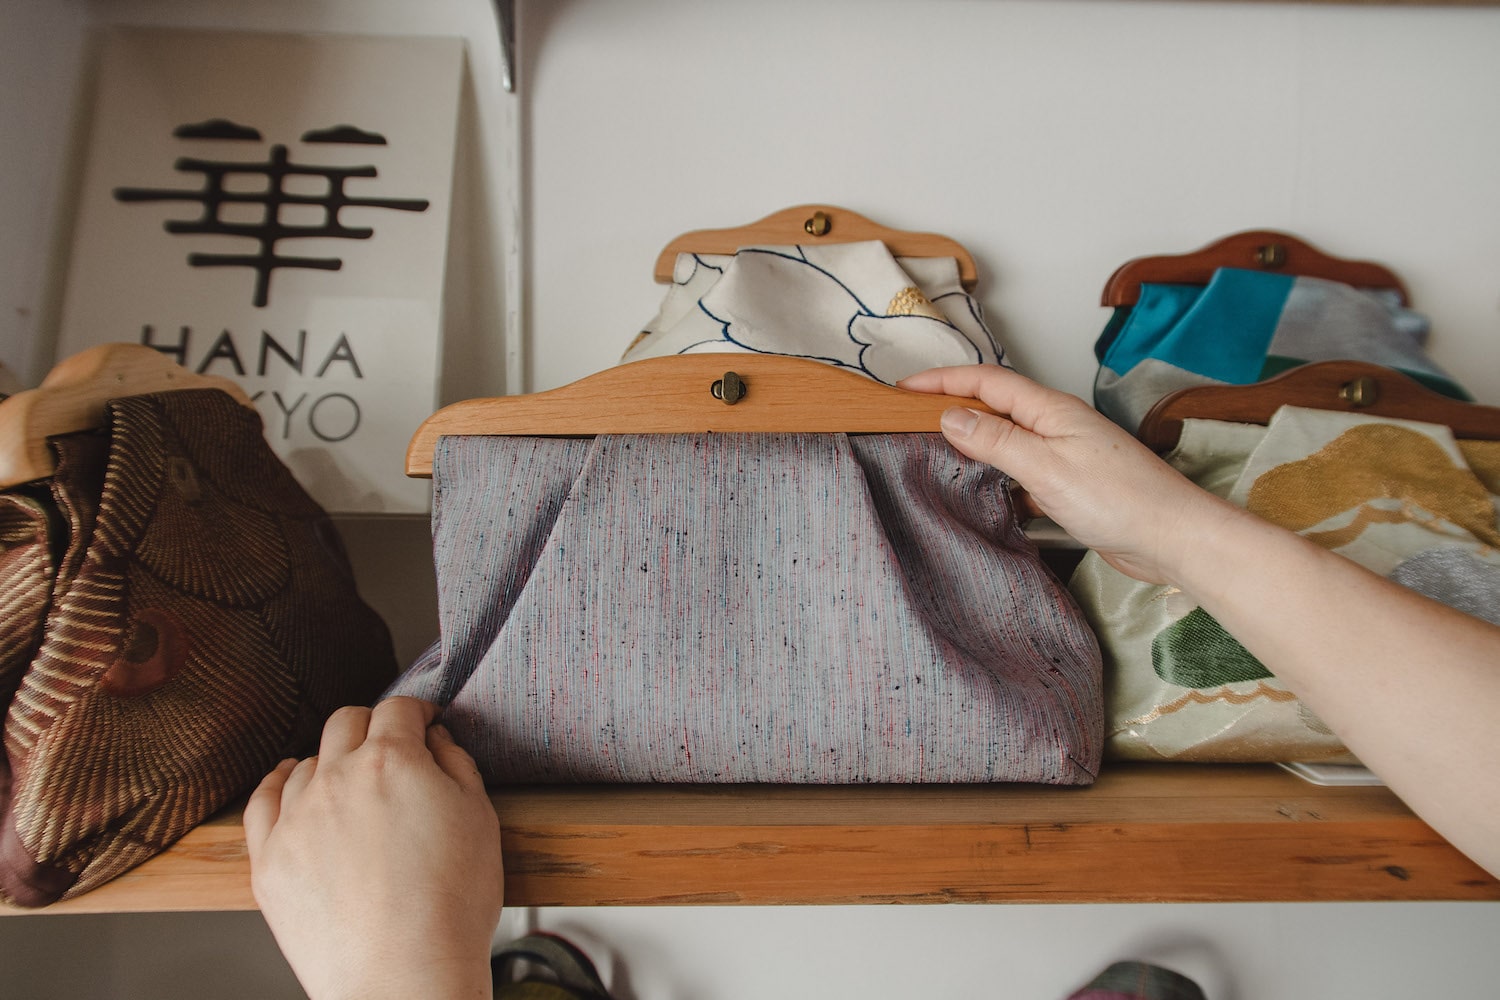
4. Finishing and inspection
We inspect every detail such as loose threads, arrange the whole thing, and attach a hang tag.

When the product is returned from the craftsman, we inspect it in detail, checking our unique checklist. The final inspection is to check that there are no skipped perforations and that the thread trimming is done properly. Remove excess lint and attach hang tags to complete.
When the product is returned from the craftsman, we inspect it in detail, checking our unique checklist. The final inspection is to check that there are no skipped perforations and that the thread trimming is done properly. Remove excess lint and attach hang tags to complete.
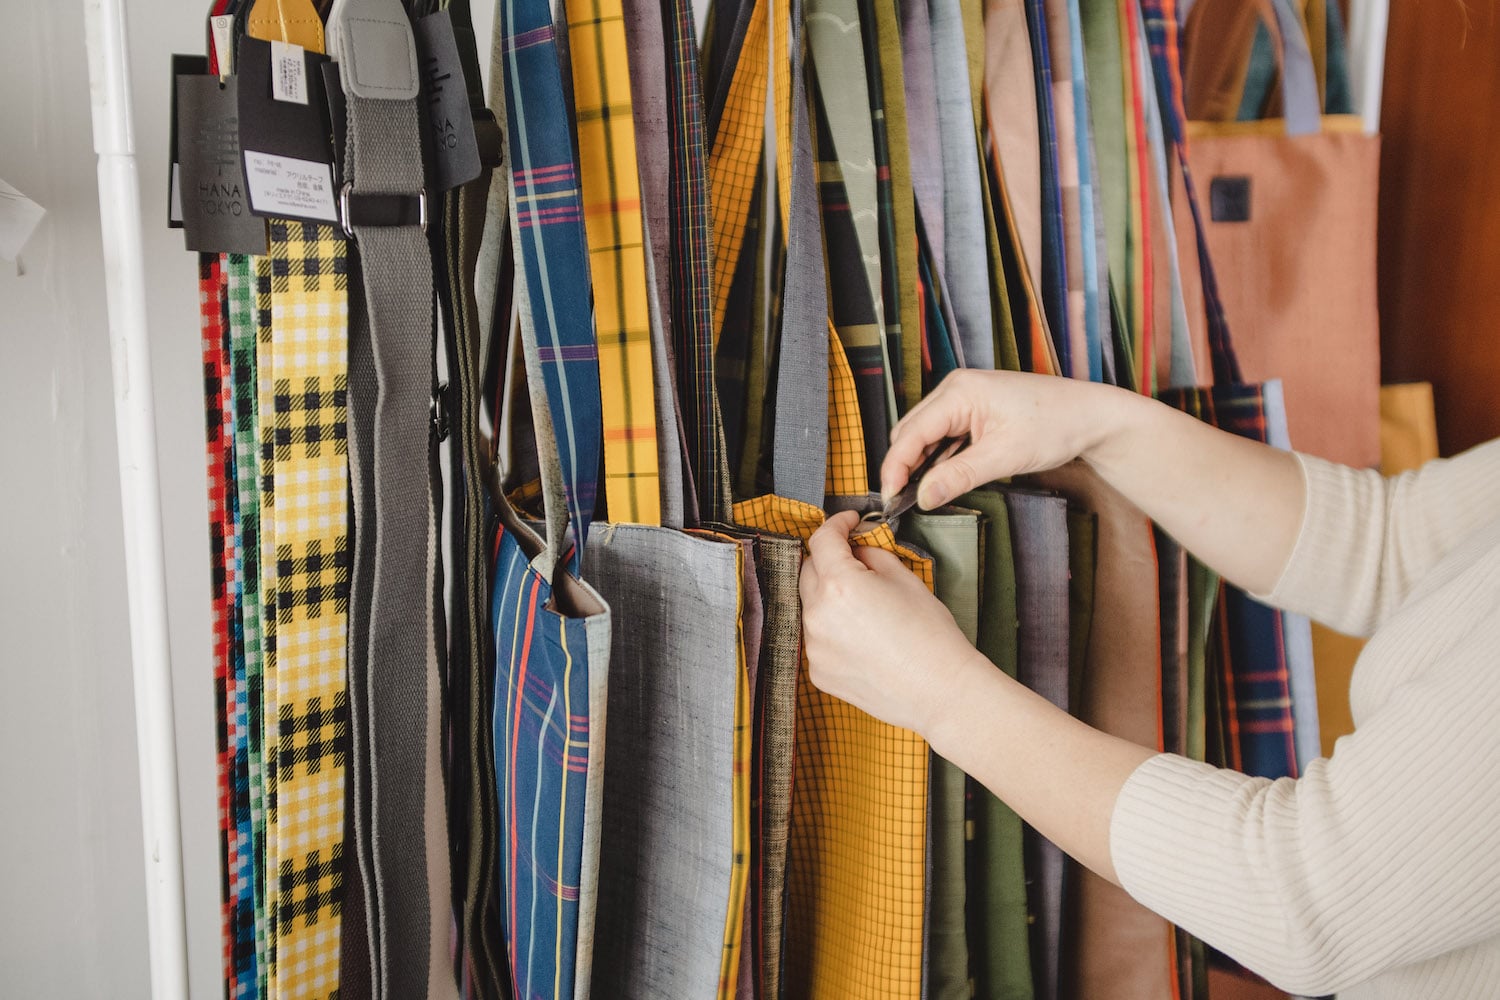
5. Shooting, to the customer
We will take photos and videos so that we can communicate to customers from afar.
The pattern will vary depending on where it is cut, and each product is a one-of-a-kind item. I shoot to convey as much nuance as possible. After a long journey from the past, I will depart for you.
The pattern will vary depending on where it is cut, and each product is a one-of-a-kind item. I shoot to convey as much nuance as possible. After a long journey from the past, I will depart for you.